
Diary Of A Sourdough Loaf
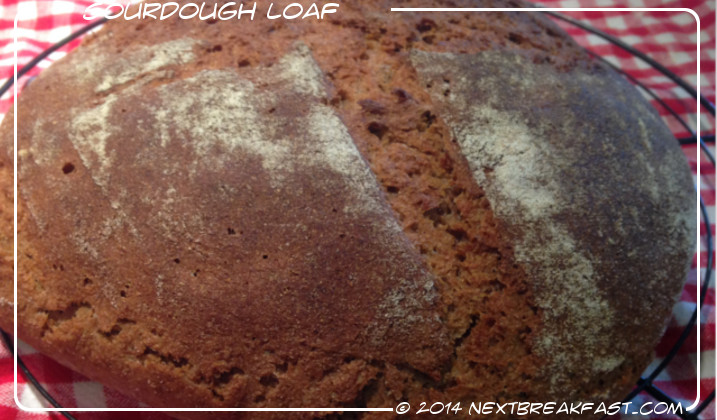 This is a diary of one sourdough loaf. There is a notion that sourdough is a lot of hassle. It does take a fair amount of time from start to finish as well as careful measuring and timing, however, each step takes very little time and once you are used to the process and the planning, it’s easy to fit into an even busy lifestyle. I’m still experimenting, each loaf I bake has some slight change, different flour, different proportions of flours, different fermentation times. I will document all my future loafs and experiments in this blog and hopefully it will show you that even if something goes wrong or you make a mistake, the output is always delicious, maybe more or less dense or a funny shape, but you can be sure it’s by far, more nutritious then a conventional store-bought bread.
I am using freshly milled Einkorn and rye flours. Einkorn is ancient variety of wheat, it was already being cultivated more than 10,000 years ago. It also is tasty and easily digestible.
Read more about Einkorn here: http://www.einkorn.com/einkorn-nutritional-facts/
First, decide on the size – I normally do either 600g flour or 800g flour. 800g flour is kind of a maximum for us, because when the dough is proving it needs a 2+ litre bowl, and I don’t have anything bigger than 2 litres at the moment. On top of that, the resulting loaf lasts us a week, and we still end up freezing some. So today I am going for an 800g flour loaf with a long, cold fermentation.
I decided on 65% hydration (pretty standard), which means we need 520g water.
Will add 150g flour to revive the starter, that means 650g flour to add tonight after the starter has come back to life.
This is the step-by-step process.
Day 1 – 11:45 Get grain from the cellar, Einkorn and Rye, to mill flour for the loaf (get stuck in the cellar for ages taking photos of grains and rummaging through the freezer for something for dinner).
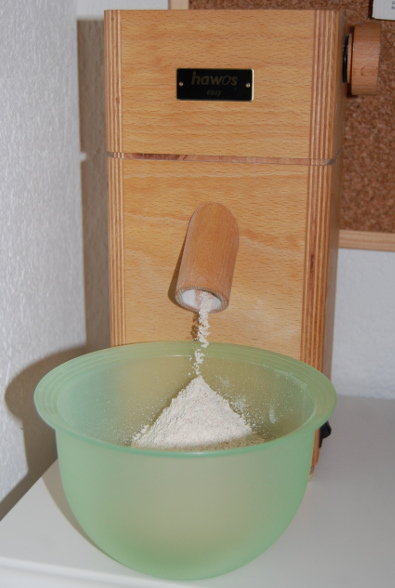
12:15 Enough Einkorn flour milled for reviving the starter, approximately 200g.
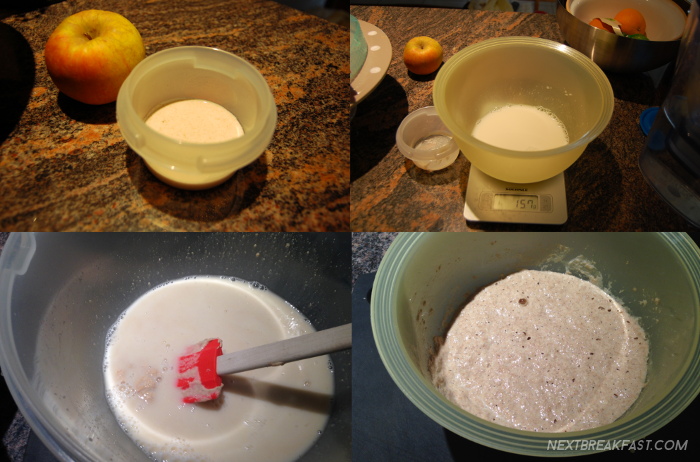
12:20 Starter out of the fridge, added 150g Einkorn flour and 150g water. Now it will sit at room temperature for approximately 8 hours.
12:30 Mill enough flour for adding tonight.
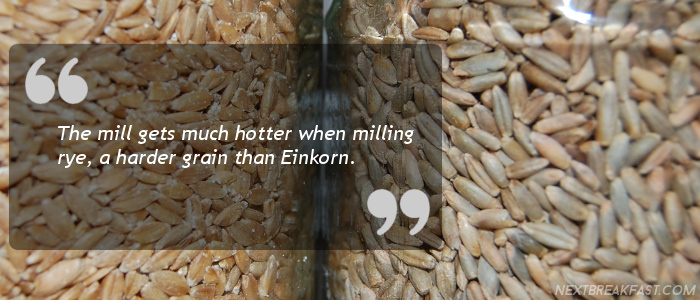
12:38 Milled 465g Einkorn, that means need a maximum of 200g rye, round down to 450g plus 200g for 650g flour needed in the evening. Notice that the mill gets much hotter when milling rye, a harder grain than Einkorn. Einkorn is a very soft grain.
** do normal day job for the next 7.5 hours **
18:12 Taste the starter for sourness – not sour enough although increased in size and looks bubbly.
21:15 Measure out 300g of starter, put the rest in the fridge. (Crucial step, otherwise nothing to bake with next time!)
21:20 Add 386g water (planned 380, but 6 extra jumped out of the jug), mix water with starter (my dad says they yeasts and bacteria love a good swim 🙂 ) , I think it makes it easier for a “no knead” method to distribute the sourdough through the newly added flour. Spend some time on the calculator confirming how much flour to add to reach 65% hydration. finally Add 450 Einkorn and 200 rye, and 15g salt.
21:30 Mix it all together. I have found that working with freshly milled wholegrain flour is a much stickier business compared to white or even just bought wholegrain flour. I am guessing it has something to do with the moisture content of the whole grain, which potentially dries out if the flour is stored on the shelf for a while.
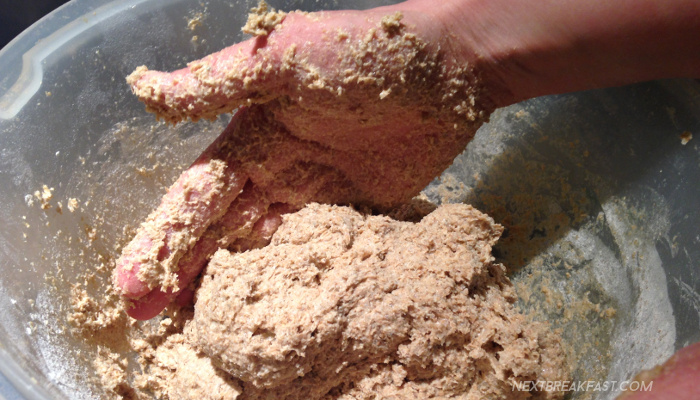
Mix until uniform, I don’t bother this time to stick it into the food processor with a bread dough hook, because at this level of stickiness it all ends up being spread on the walls of the mixer, to get it unstuck, I need to add flour but I would like to preserve the 65% hydration.
21:50 Put the bowl covered outside to rise for the night (temperature 5.7°C)
Day 2 – 07:00 Get the dough from outside – no change! The temperature was too low for any visible change, but perhaps some yeast and bacteria activity still happened.
08:20 The dough is starting to rise at room temperature
09:30 Put the dough in the oven with only the light on and door slightly ajar with an oven glove – aim for 30°C inside the oven.
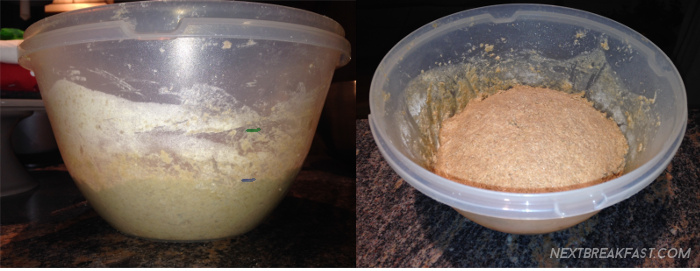
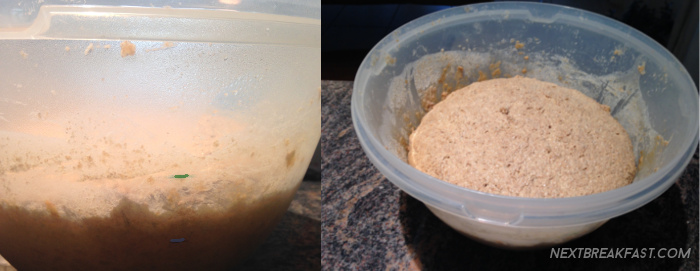
10:30 The dough has doubled in size, which is what I was waiting for. The marks on the bowl show me 1 litter (blue) and 2 litter (green) volume. I am thinking that taking into account the curvature of the dough, if I were to flatten it – it would be pretty accurately on the green line. Time to get it out!
10:35 Remove the dough with a dough scraper – it is not advisable to try without – the dough is super sticky, so using hands will mean you get stuck in the dough with both hands and no hands left to even tip the bowl, plus you loose some dough, that you can’t unstick from your hands. Spatulas don’t work either, the dough is very heavy, when you insert a spatula on one side and try to get the dough out it continues to stick everywhere else, to the spatula as well as to the bowl and you end up losing a lot again, just like with the hands method. The dough is flattened on a floured cutting board and left to rest for 15 minutes.

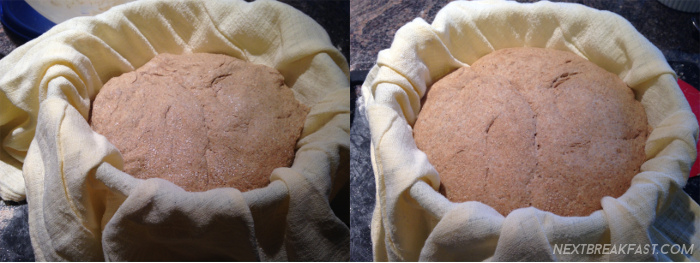
10:50 Prepare a 2 litre bowl lined with floured cheesecloth for the final proofing. Shape the dough in a ball, stick into the cheesecloth bowl, watch it over the next hour. Preheat the oven to 250°C.
11:56 Think about putting the bread in the oven.
12:00 Turn out the bread and discover that I didn’t flour the cheesecloth enough, so the surface of it is funky in one place.
12:05 Put the bread in the oven with a ramekin of water. Put the timer on for 30 minutes (based on the results, I may add 10 more minutes in the oven the next time).
12:22 Stand near the oven with my nose near the door and have an aromatherapy session – I love the smell of rye sourdough, it smells like childhood. In the Soviet Ukraine there was a standard rye sourdough bread which was prepared according to a standard Soviet recipe. I was often sent to the bread shop to get a quarter or half of the loaf and invariably the places where the crust of the loaf has cracked and made enticing extra crispy sticking out bits would disappear by the time I brought the bread home. The closest image to my memory is this one: http://pechemdoma.ru/ukrainskij-podovyj-80-rzhanoj-muki.html
…and the image has a recipe with it! Something to try out next time.
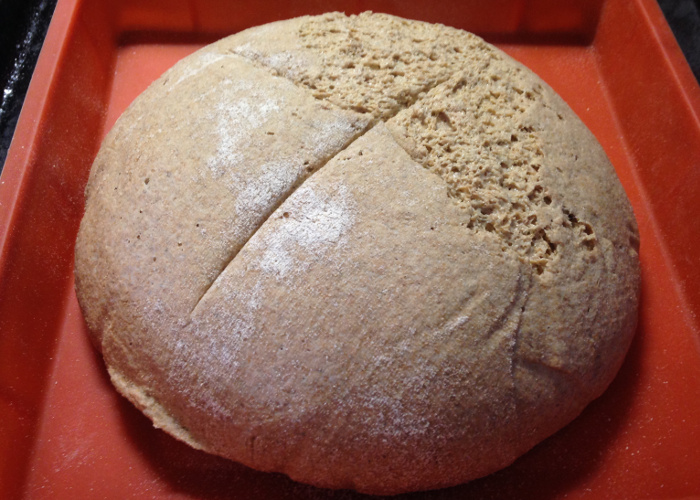
12:45 Take the bread out of the oven, knock it on top and bottom – sounds hollow, that’s good! Have a second aromatherapy session over the bread.
13:05 Cut a bit to try – tastes great, but next time I will leave it for 10 more minutes in the oven.
17:10 We are back from picking up loads of organic pork and other lovely things from a farm nearby, and getting my daughter from child care. Her verdict – This is the most delicious bread in the world!


would like to have the bread recipe please?
Hi rim, the recipe is kind of in the diary, but the diary is not a recipe, too much lyrics, I understand this 🙂 I have a less time consuming sourdough post coming up. Do you already have a sourdough starter?
Masha recently posted…Flour-less Egg & Bacon Muffins